

05 April 2015
01 April 2015
Bunny Crafts
Happy hump day! I thought I'd share a bonus craft today, something anyone can do for Easter.

Remember this bunting I made two weeks ago? It was an afternoon of crafting where I taught some adorable kids how to design their own t-shirt.
With some bunny stencils, fabric paint and pompoms, we transformed plain t-shirts from blah to TADA!:


The bunny patterns are all from the internet. I printed them on card stock and cut inside the design with a sharp pair of scissors.

I thought plain table napkins would be something fun to jazz up especially for Easter entertaining.
If you ever venture into the clearance section of home stores, they'll sell napkins for $1 to $2 a piece. The colors and prints are usually one-offs and don't match. But adding a design surrounding a certain theme (ex. Easter, summer, fall) will provide cohesion.

Here are some other materials we'll need: fabric paint, a foam paint brush, masking tape or painter's tape, and pompoms.

After washing, drying and ironing the napkin, determine on which part you'd like to add the design. Then, put a piece of cardboard underneath the fabric so the paint doesn't seep through the other layers. Tape the edges of the stencil onto the napkin with masking or painter's tape so that the stencil stays in place as paint is applied.


Wishing you all a Happy Easter!
30 March 2015
Dreaming of Paris
Happy Monday! Let me tell you where my day dreams are taking me lately -- to Paris. I would love to rent an apartment, visit the markets, get lost in the museums, and try out a new patisserie each day.
I guess I don't have to explain. Paris is magic.
And while I can't pack my bags and leave, I'll let a crafty session take me there for now.


I'm using some watercolor...


I like it a lot because it gives me neat letters.


And a cute way to say "Many Thanks".
In case you're working on a Parisian-themed craft, you might want to join this contest (it ends tomorrow). The prize is a trip to Paris!
23 March 2015
Insta-Bunting
Hi there! I found another way to turn an old book from blah to TADA!
I turned the pages into a bunting:

Over the weekend, I taught a craft class (we made Easter t-shirts). I thought it would be fun to decorate my work space. It not only told participants the venue, it attracted new kids and their parents to sign up for the class.
I made this with pages from a old book, punched out hearts from construction paper, and letters that I painted on. I used baker's twine to hold them all together.
Maybe this will serve as inspiration for a sign you can use for your next event, craft fair or bake sale.
Have a wonderful week, everyone!
17 March 2015
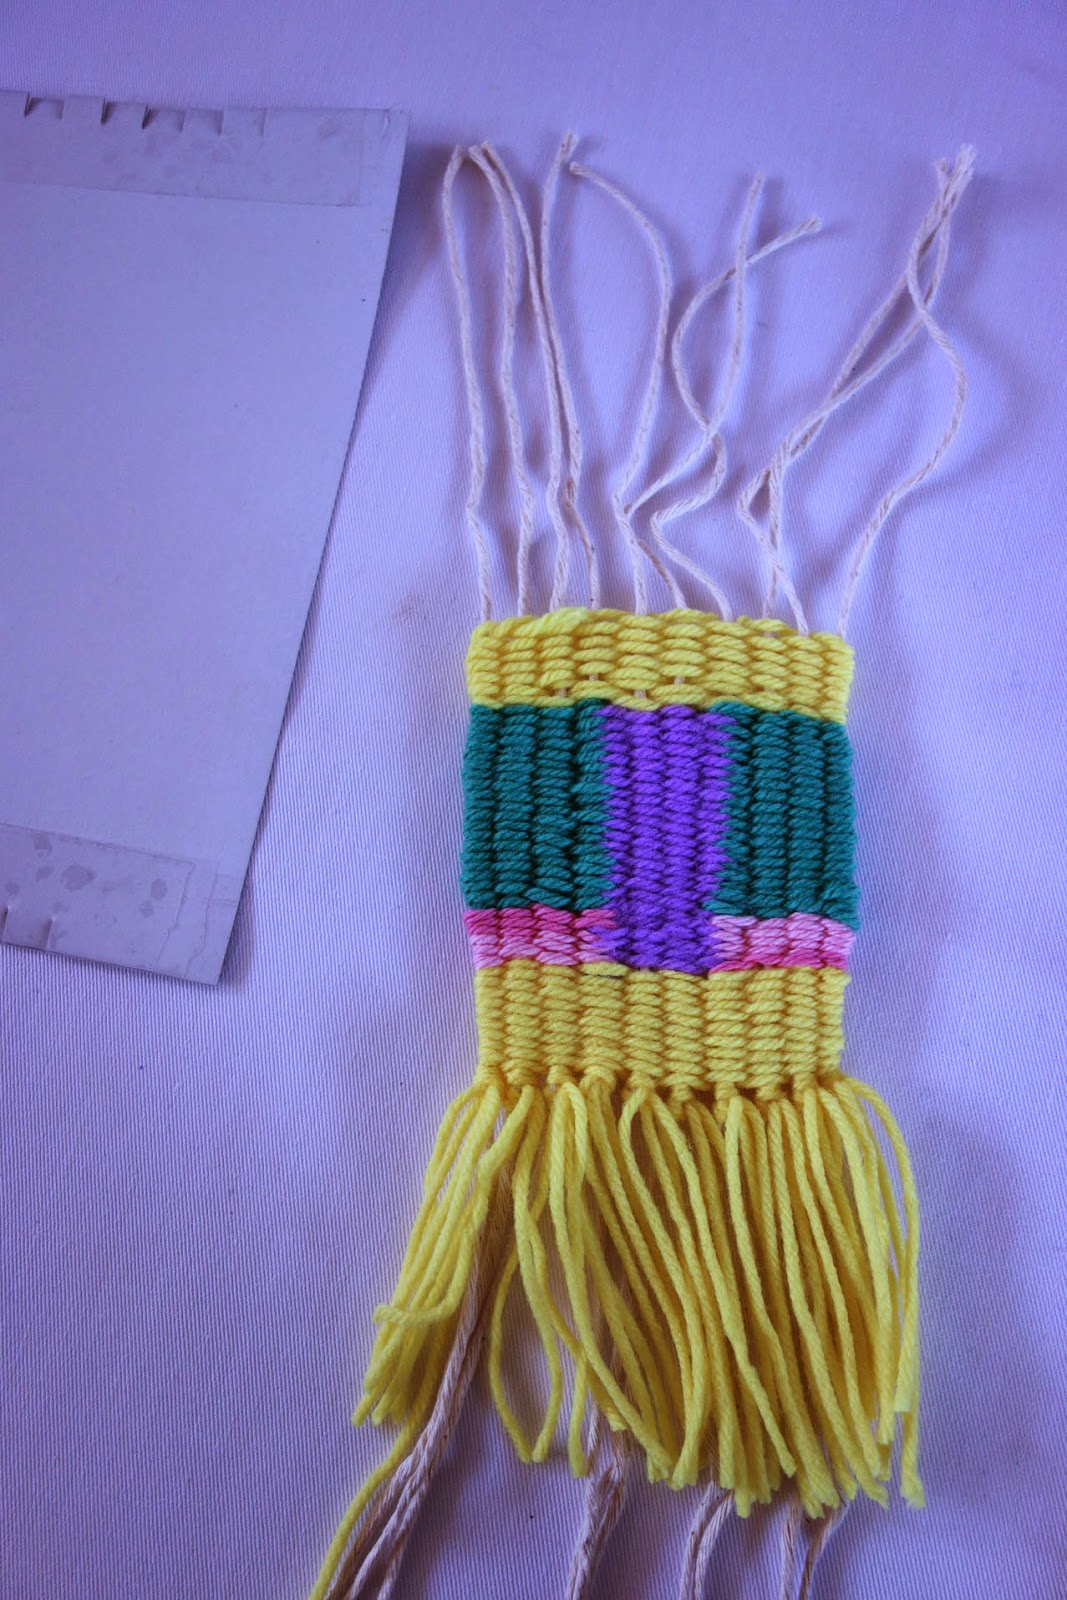
Look Ma, I'm Weaving!
Yesterday, I showed you a craft that I was working on. I'm proud to say I've finally completed it and so delighted to try it for the first time.
I learned how to weave!

I got the inspiration from the pages of the current issue of Uppercase Magazine. And lately, I've been seeing a lot of weaving projects around the web like here, here and here.


I like the simplicity of materials. I didn't have to buy anything at all. Cardboard turned into a basic loom, kitchen twine, and colorful yarn from my stash...all blah to TADA!

A popsicle stick acted as my needle to weave the yarn up and under the twine.


16 March 2015
A Work in Progress
Hello there! I hope you had a restful weekend.
Today, a little peek at a craft I'm currently working on:

Can you guess what it is? If you can stop by tomorrow, I'll show you the process and the completed project. Have a happy Monday!
09 March 2015
Books in Bloom
Hello there! Last week, I shared an idea on how to turn blah book pages into TADA! by making inexpensive art.
Along those lines, here's more inspiration:
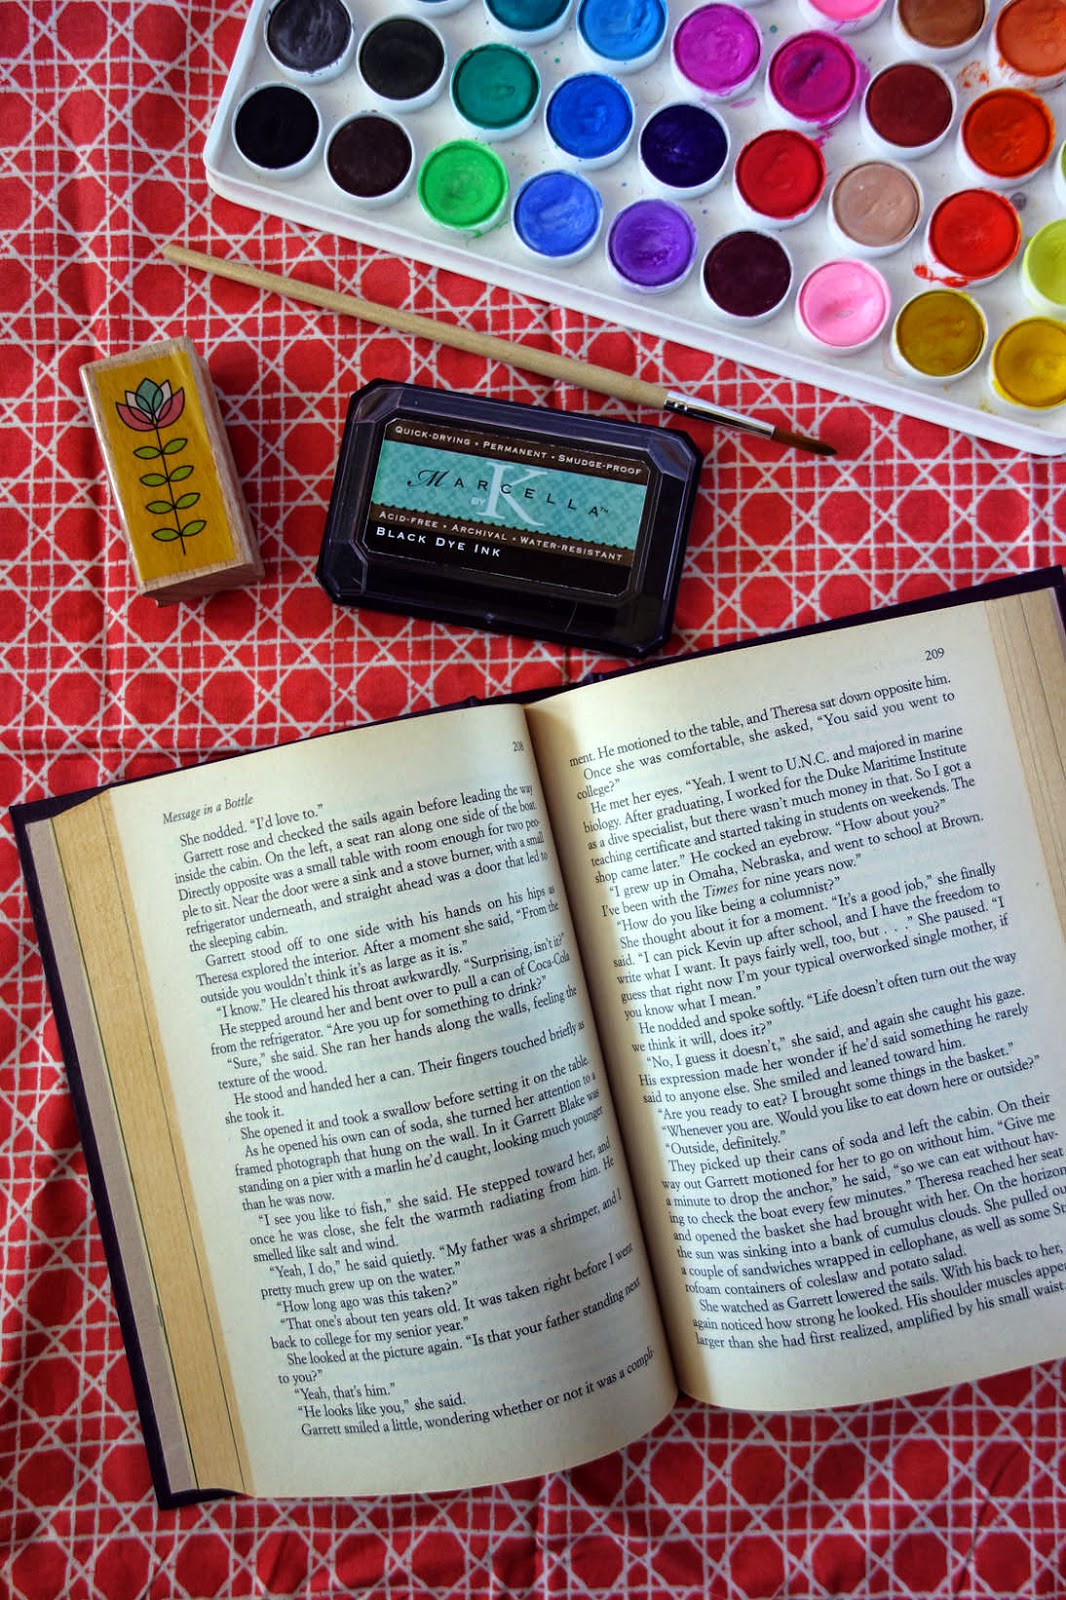
I'm transforming an old book into a gift for a friend. To help me out, I'm using paint, an ink pad, and a rubber stamp.


Then I drew a collection of flowers, added some color, and defined the flowers' edges with a fine tip pen.


I put my humble artwork in a frame, ready to be wrapped and mailed to her for her new home. TADA!
Subscribe to:
Posts (Atom)